Baked Quinoa Croquettes
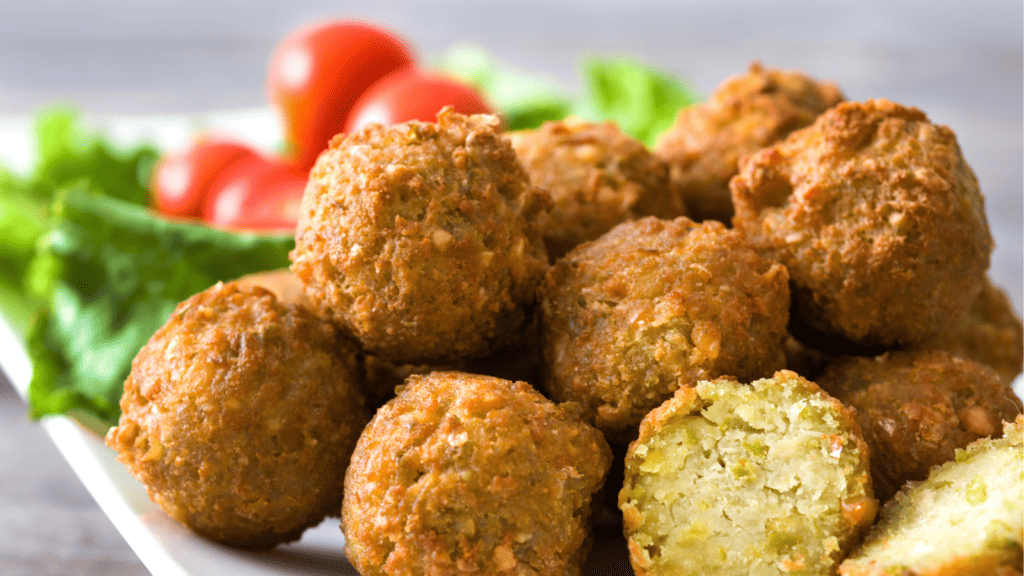
Get ready to tantalize your taste buds with this delicious Baked Quinoa Croquettes recipe. Packed with nutritious ingredients, these crispy and flavorful croquettes are the perfect addition to any meal or enjoyed as a satisfying snack.
These baked delights are a healthier alternative to traditional deep-fried croquettes made with quinoa, vegetables, and aromatic herbs and spices. With a golden-brown exterior and a tender, savory interior, these quinoa croquettes will indeed become a family favorite.
So, grab your apron and get ready to experience the delightful flavors of these Baked Quinoa Croquettes.
Ingredients
To make delicious baked quinoa croquettes, you will need the following ingredients:
Quinoa
Quinoa serves as the base for these croquettes, providing a nutritious and protein-packed component.
Vegetables
Choose a variety of vegetables, such as bell peppers, carrots, corn, peas, and onions, to add flavor, texture, and color to your croquettes.
Garlic
Garlic adds a delightful aroma and enhances the overall taste of the croquettes. Make sure to mince it for even distribution finely.
Eggs
Eggs act as a binding agent, ensuring the croquettes hold their shape while baking and providing a creamy texture.
Breadcrumbs
Breadcrumbs help give the croquettes a nice crispy exterior while keeping the inside moist. You can use regular or gluten-free breadcrumbs, based on your preference.
Parmesan Cheese
Grated Parmesan cheese adds a rich and savory flavor to the croquettes. It also helps in binding the ingredients together.
Spices
Enhance the taste of your croquettes by adding spices like paprika, cumin, or Italian seasoning. Feel free to adjust the spices based on your personal preference.
Salt
Season the croquettes with salt to bring out the flavors of the other ingredients.
Pepper
A touch of freshly ground pepper adds a subtle kick and complements the other flavors in the croquettes.
Cooking the Quinoa
Rinsing the Quinoa
Start by rinsing the quinoa thoroughly under cold water. This helps remove any bitterness and residual dirt from the grains.
Cooking the Quinoa
In a saucepan, combine the rinsed quinoa with water in a ratio of 1:2. Bring it to a boil, then reduce the heat and let it simmer for about 15-20 minutes until the quinoa absorbs all the water and becomes fluffy.
Fluffing the Quinoa
Once the quinoa is cooked, use a fork to fluff it up, separating the grains. This step ensures a light and airy texture in your croquettes.
Preparing the Vegetables
Chopping the Vegetables
Wash and chop the vegetables into small, uniform pieces. This allows them to cook evenly and adds a pleasing croquette texture.
Sautéing the Vegetables
Heat a tablespoon of oil or butter in a skillet over medium heat and sauté the chopped vegetables until they become tender. This step adds depth of flavor to the croquettes and enhances their overall taste.
Mixing the Ingredients
Combining Quinoa and Vegetables
In a large mixing bowl, combine the cooked quinoa and sautéed vegetables. Mix them gently, ensuring that the flavors are evenly distributed.
Adding Garlic and Spices
Add the minced garlic and spices to the quinoa and vegetable mixture. Stir well to ensure that the flavors blend harmoniously.
Incorporating Eggs
Crack the eggs into a separate bowl and whisk them until well beaten. Pour the beaten eggs into the quinoa and vegetable mixture, thoroughly incorporating them. The eggs provide binding as well as moisture to the croquettes.
Mixing in Breadcrumbs
Add the breadcrumbs to the mixture, starting with a smaller quantity and gradually increasing until it holds its shape. The breadcrumbs add texture and help bind the ingredients together.
Including Grated Parmesan Cheese
Sprinkle the grated Parmesan cheese into the mixture, ensuring it is evenly distributed. The cheese adds a delightful and tangy flavor to the croquettes.
Forming the Croquettes
Shaping the Mixture into Croquettes
Take a handful of the mixture and shape it into a compact croquette. You can form them into round patties or shape them into your preferred form. Repeat the process until all the mixture is used.
Coating the Croquettes with an Additional Layer of Breadcrumbs
Roll each croquette in some additional breadcrumbs, ensuring an even coating. This helps create a crispy exterior when baked.
Baking the Croquettes
Preheating the Oven
Preheat your oven to 375°F (190°C) to ensure it reaches the desired temperature before placing the croquettes inside.
Arranging the Croquettes on a Baking Sheet
Line a baking sheet with parchment paper or lightly grease it. Carefully arrange the croquettes on the sheet, ensuring they are not overcrowded.
Baking Them Until Golden Brown
Place the baking sheet in the oven and bake the croquettes for approximately 25-30 minutes or until they turn golden brown and crispy.
Flipping Halfway Through the Baking Process
To ensure even browning, flip the croquettes halfway through the baking process. This helps achieve a uniform and appealing color.
Serving Suggestions
Pairing with a Dipping Sauce
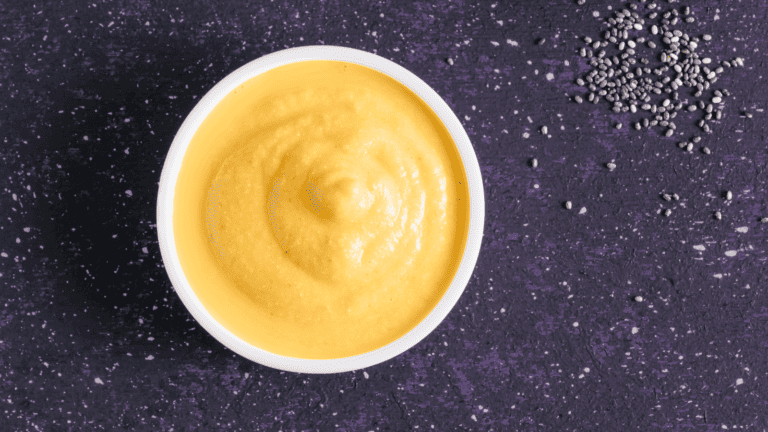
Serve your baked quinoa croquettes with a delicious dipping sauce of your choice. Some popular options include spicy tomato sauce, tangy yogurt dip, or zesty avocado aioli.
Serving with a Side Salad
Consider serving the croquettes with a fresh side salad for a complete and balanced meal. A simple salad with mixed greens, cherry tomatoes, cucumbers, and a light vinaigrette dressing pairs wonderfully with the croquettes.
Using as a Burger Patty Alternative
These baked quinoa croquettes can also be a delightful alternative to traditional burger patties. Place them in a burger bun, add your favorite toppings, and enjoy a wholesome and flavorful vegetarian burger.

Variations
Substituting Quinoa with Other Grains
You can substitute quinoa with other grains like brown rice, millet, or bulgur. This allows you to experiment with different flavors and textures, making the croquettes your own.
Experimenting with Different Vegetables
Don’t be afraid to get creative and use different vegetables in your croquettes. Broccoli, zucchini, spinach, or mushrooms can bring a unique twist to the dish and add a variety of nutrients.
Adding Herbs and Spices for a Different Flavor Profile
Try incorporating herbs such as parsley, cilantro, or dill into the mixture to create a different flavor profile. You can also experiment with spices like turmeric, curry powder, or chili flakes to give your croquettes a vibrant and exotic taste.
Storage and Reheating
Storing Leftovers in an Airtight Container
If you have any leftover croquettes, store them in an airtight container to maintain their freshness. Place them in the refrigerator for up to 3-4 days.
Reheating in the Oven or on the Stove
To reheat the croquettes, preheat your oven to 350°F (175°C) or heat a skillet over medium heat. Place the croquettes in the oven or skillet and heat for about 10 minutes or until they are heated through.
Freezing for Future Consumption
If you want to enjoy the croquettes later, they can be frozen. Place the fully cooked and cooled croquettes in an airtight container or freezer bag. They can be stored in the freezer for 2-3 months. When ready to consume, thaw and reheat following the reheating instructions.
Conclusion
Now that you have the recipe for these nutritious and delicious baked quinoa croquettes, it’s time to start cooking! Combining quinoa, sautéed vegetables, garlic, and spices, all baked to crispy perfection makes these croquettes a delightful option for a satisfying meal.
Serve them with your favorite dipping sauce, enjoy them as a burger patty alternative, or pair them with a side salad. With the ability to customize ingredients and flavors, these baked quinoa croquettes will surely become a crowd-pleasing favorite in your kitchen.
So, gather the ingredients, follow the steps, and savor the wholesome goodness of these delectable croquettes. Bon appétit!

Born and raised in a family of foodies, Georgia’s passion for cuisine was nurtured from a young age as she learned the intricacies of flavor and texture from her grandmother’s kitchen. As an adult, this early fascination blossomed into a full-fledged love affair with the culinary world.


