
Sugar Free Chocolate Cake Recipes for Diabetics
Discover the perfect solution for chocolate lovers with a sweet tooth: a low-carb and low-calorie chocolate frosting that won’t compromise your blood sugar levels. With these sugar-free cakes, you can bake and enjoy chocolate cake’s rich and decadent flavors while maintaining a healthy diet.
Explore various options for baking birthday cakes that cater to your cravings, from classic coconut flour and eggs sugar-free chocolate cakes to innovative variations that incorporate alternative sweeteners.

These sugar free chocolate cake recipes for diabetics are carefully crafted to ensure they are diabetic-friendly, providing you with guilt-free indulgence. Whether you’re looking for a sugar cake or a traditional chocolate cake, these recipes use a sugar substitute to satisfy your sweet tooth without compromising your health.
With simple ingredients and easy-to-follow instructions, you can whip up these delicious sugar chocolate cakes, sugar-free ones, and sugar cakes in no time.
Whether you’re a beginner or an experienced baker, these recipes are perfect for satisfying your sweet tooth. So grab your apron and get ready to indulge in some delicious baking.
Say goodbye to feeling deprived and embrace the joy of baking and savoring a slice of heavenly sugar-free chocolate cake on your birthday. It only takes a few minutes to indulge in this delicious treat…
Prepare to embark on a delightful baking journey that combines taste and health in every bite of a sugar-free chocolate cake. Icons and ellipsis will guide you along the way.
Best Diabetic Chocolate Cake Recipe
If you’re celebrating a birthday and you have diabetes with a sweet tooth, finding a delicious chocolate cake recipe that won’t spike your blood sugar can be a challenge. However, you can enjoy a tasty treat with the right ingredients and substitutions on your special day.
We have the ultimate recipe for a decadent and moist sugar-free diabetic chocolate cake that will satisfy your cravings without compromising your health. This recipe includes icons for easy navigation and the ellipsis symbol to indicate additional steps. Plus, we’ll show you how to create a beautiful horizontal layer cake.
Secret Ingredients for Delicious and Diabetes-Friendly Cake
What makes this sugar-free chocolate cake so unique is the secret ingredients that make it delicious and diabetes-friendly. The icons of this cake are its deliciousness and health benefits for those with diabetes.
Instead of using traditional sugar, this recipe utilizes natural sweeteners such as stevia or monk fruit extract to add sweetness without raising blood glucose levels. The icons for these natural sweeteners are often displayed in recipes as alternatives to traditional sugar.
This helps create a healthier option for those looking to reduce their sugar intake. Unsweetened cocoa powder adds rich flavor while keeping the sugar content low. Additionally, using ellipsis icons creates a visually appealing and engaging design. The horizontal layout enhances the overall user experience.
Creating a Rich and Satisfying Dessert
Creating a rich and satisfying dessert without added sugars may seem impossible, but with this recipe, it’s doable. Plus, icons and horizontal ellipses make it even more appealing.
The key lies in using alternative ingredients that provide sweetness and moisture without affecting blood sugar levels… Additionally, incorporating icons and arranging them in a horizontal layout can enhance the visual appeal of the content. For instance, mashed bananas or unsweetened applesauce can replace some of the sugar-free cake’s fat while adding natural sweetness.
Additionally, using these healthy alternatives can create a delicious and guilt-free dessert.
To enhance the texture and taste of the sugar-free cake, you can also incorporate almond flour or coconut flour instead of regular all-purpose flour. Additionally, you can use icons to represent different ingredients in your recipe.
These gluten-free options add depth to the flavor and increase fiber content, which helps regulate blood sugar levels. Ellipsis
Impress Friends and Family with Diabetic-Friendly Delight

One of the best things about this sugar-free, diabetic-friendly chocolate cake is that it tastes just as good as its traditional counterpart… Thanks to the ellipsis, your friends and family won’t even realize it’s made without added sugars.
So impress them at your next gathering with this fantastic sugar-free dessert catering to everyone’s dietary needs…
Here are some additional tips to make your sugar-free diabetic chocolate cake even more delightful.
Top it off with sugar-free whipped cream from heavy cream sweetened with stevia or another natural sweetener… Add a sprinkle of unsweetened cocoa powder or grated dark chocolate for an extra touch of decadence in this sugar-free recipe.
Serve with fresh berries or a sugar-free fruit compote to add a natural sweetness…
Remember, moderation is key. While this sugar-free cake is diabetes-friendly, monitoring portion sizes and considering its impact on your overall meal plan is still essential. Ellipsis.
So, don’t let ellipsis or diabetes stop you from indulging in your favorite treats. With this diabetic chocolate cake recipe, you can satisfy your cravings without compromising your health. The ellipsis in this recipe makes it a guilt-free indulgence.
Keto Chocolate Cake for Diabetics

Good news for all the dessert lovers: this keto chocolate cake recipe is the real deal. Made with essential ingredients and no added sugar, it’s the perfect treat for special occasions or when you’re craving a moist cake. Plus, it’s an easy recipe that you’ll want to make time and time again.
Ingredients:

- 2 cups low-carb flour
- 1 cup monk fruit sweetener (or coconut sugar for a non-keto option)
- 1/2 cup sugar-free chocolate chips
- 1/2 cup cocoa powder
- 1/2 cup melted coconut oil (or melted butter for a richer flavor)
- 4 egg whites
- 2 tsp instant coffee (secret ingredient to enhance chocolate flavor)
- 1/2 cup sour cream
- 2 tsp baking powder
- A pinch of salt
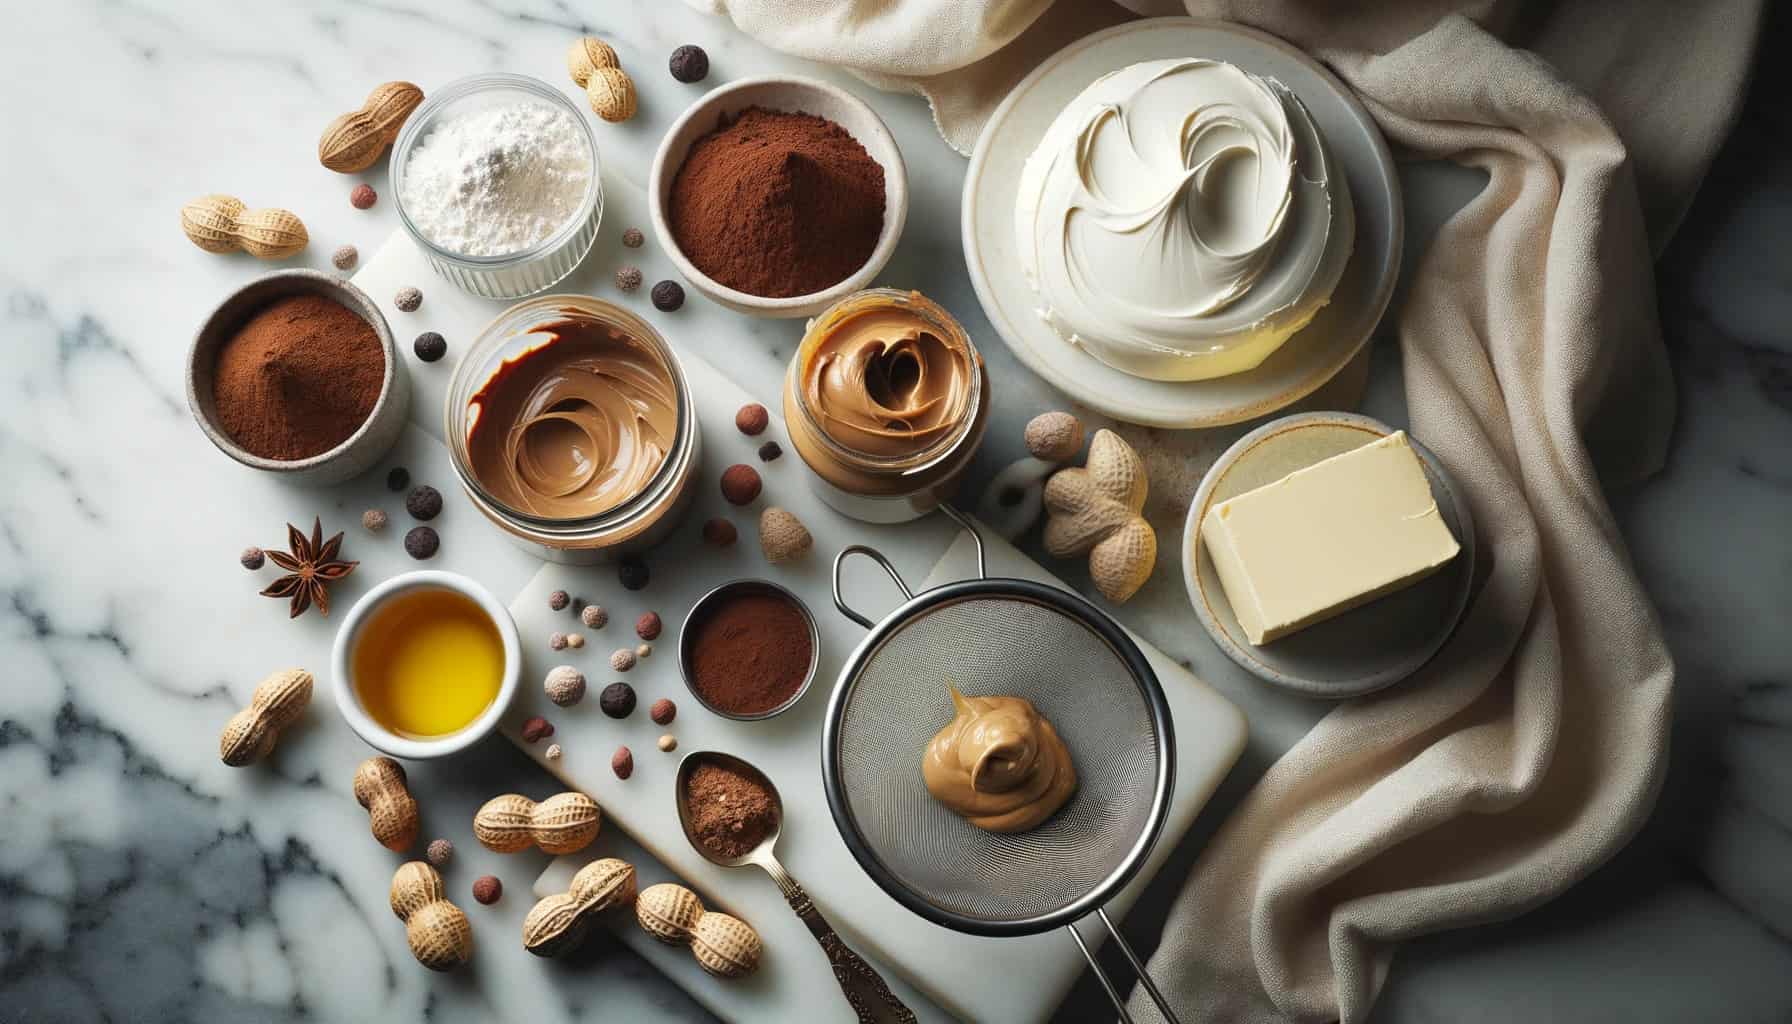
For the Keto Chocolate Frosting:
- 1 cup cream cheese
- 1/2 cup peanut butter
- 1/4 cup cocoa powder
- 1/4 cup melted butter
- 1 tsp maple syrup (remember, a little goes a long way)
Instructions:
- Prep: Preheat your oven to 350°F (175°C)—line two 8-inch cake pans with parchment paper.
- Combine your low-carb flour, monk fruit sweetener, cocoa powder, instant coffee, and baking powder in a large mixing bowl.
- Mix your wet ingredients in a separate medium bowl: melted coconut oil, egg whites, and sour cream until smooth.
- Slowly integrate the wet mixture into the large bowl containing the dry ingredients using a hand mixer. This will form your cake batter. Remember, the key to a fudgy cake lies in not over-mixing.
- Gently fold in the sugar-free chocolate chips.
- Pour the cake batter evenly between the two parchment paper-lined cake pans.
- Bake for approximately 25-30 minutes or until a toothpick comes out clean.
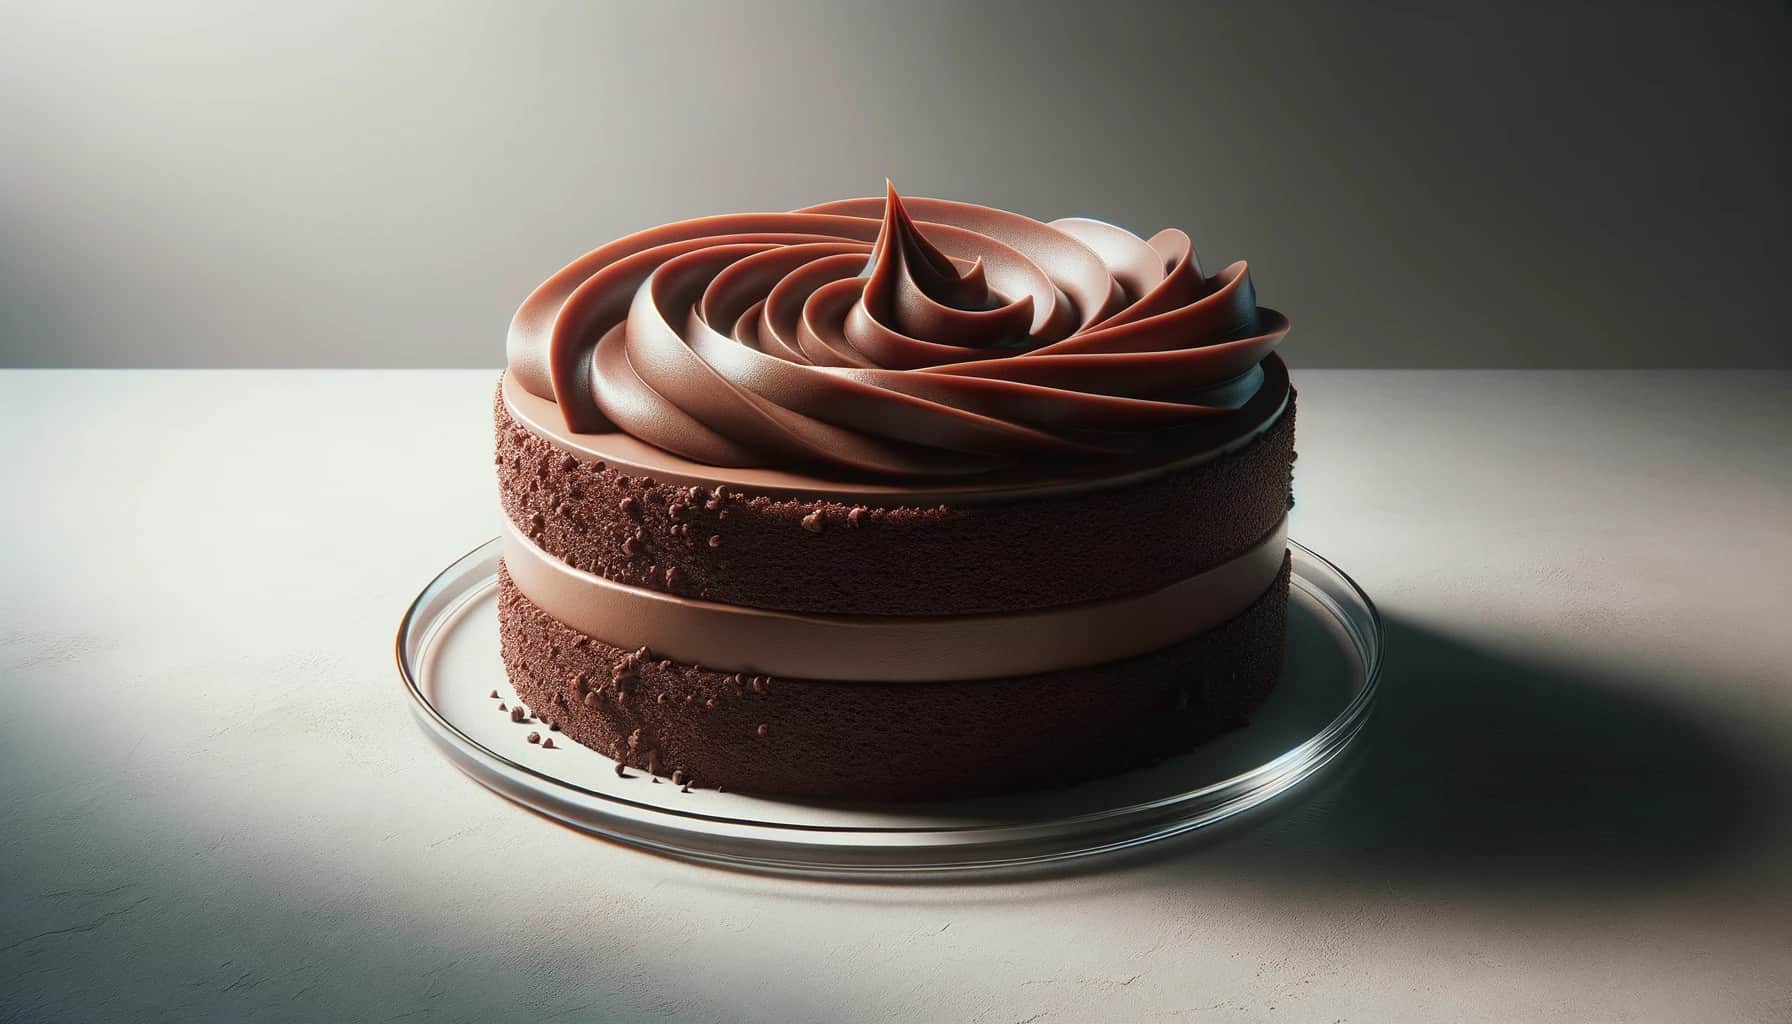
- While the cake is baking, combine all the frosting ingredients in a medium bowl and whisk using a hand mixer until smooth. This keto chocolate frosting is the best part, giving the entire cake a creamy finish.
- Once the cake has cooled, layer and frost. It’s a great recipe, rivaling even traditional cakes with natural sugar.
Additional Notes:
- For those on a strict keto diet, be mindful of net carbs and adjust ingredients as necessary.
- For first-time bakers, this free cake recipe is a favorite and perfect for birthday occasions.
- Are you looking for variations? There are flourless chocolate cake recipes online, but the good news is that this one is just as delicious and perfect for those on a low-carb diet or even a regular chocolate cake lover. The moist texture and rich flavor make it indistinguishable from the real thing.
Healthy Chocolate Cake Recipe with <100 Calories
Indulge guilt-free in a delicious chocolate cake with less than 100 calories per serving… This delectable dessert allows you to satisfy your sweet tooth without compromising your health goals.
With this dessert, you can indulge in a guilt-free treat and stay on track with your health objectives. Using the ellipsis, let’s delve into how this healthy chocolate cake recipe achieves its low-calorie status.
Yield: 12 servings
Ingredients:
- 1 cup unsweetened applesauce
- 1/2 cup Greek yogurt (fat-free)
- 1/4 cup honey or pure maple syrup
- 1 tsp vanilla extract
- 1/3 cup unsweetened cocoa powder
- 3/4 cup whole wheat pastry flour or oat flour
- 1 tsp baking soda
- 1/2 tsp baking powder
- 1/4 tsp salt
- 1/2 cup unsweetened almond milk (or any milk of choice)
Instructions:
- Preheat Oven: Set the oven to 350°F (175°C). Prepare an 8-inch square or round baking pan by lightly greasing it or lining it with parchment paper.
- Wet Ingredients: In a large mixing bowl, combine the applesauce, Greek yogurt, honey (or maple syrup), and vanilla extract. Mix them well.
- Dry Ingredients: In another bowl, sift together the cocoa powder, whole wheat pastry flour (or oat flour), baking soda, baking powder, and salt.
- Combine: Gradually add the dry ingredients to the wet mixture. Mix gently. As you mix, pour in the almond milk. Mix until just combined. Don’t overmix.
- Pour & Bake: Transfer the cake batter to the prepared baking pan. Spread it out evenly using a spatula. Place the pan in the preheated oven and bake for 25-30 minutes, or until a toothpick inserted in the center comes out clean.
- Cool & Serve: Once baked, remove the cake from the oven and let it sit in the pan for about 10 minutes. After that, transfer it to a wire rack to cool completely. Once cooled, slice it into 12 equal pieces.
Notes:
- The applesauce in this recipe acts as both a sweetener and a fat substitute, making the cake moist without added oils or butter.
- Feel free to top the cake with fresh berries or a dollop of whipped coconut cream to enhance its taste.
- The calorie count is kept under 100 using natural sweeteners, fat-free yogurt, and no added oils.
Remember that the final calorie count might vary based on ingredients and brands. You can use a nutrition calculator to count your specific ingredients accurately.
Clever Substitutions for Reduced Calories
Clever substitutions are made to create a chocolate cake with fewer than 100 calories to reduce the overall calorie content. These substitutions include using low-fat ingredients and reducing the amount of sugar, resulting in a delicious dessert that doesn’t compromise on taste.
You can enjoy a guilt-free treat without sacrificing flavor by making these changes. Some key ingredient swaps, including ellipsis, make this recipe a healthier alternative.
- Flour: Traditional all-purpose flour is replaced with whole wheat pastry flour or almond flour, which adds fiber and reduces calorie density.
- Sugar: The recipe uses natural sweeteners like stevia, monk fruit extract, or erythritol instead of refined sugar. These alternatives provide sweetness without adding significant calories.
- Oil: Instead of using traditional vegetable oil or butter, this recipe incorporates unsweetened applesauce or mashed bananas to reduce the fat content.
- Milk: Low-fat or non-dairy alternatives like almond milk can be used instead of full-fat dairy to lower the calorie count.
By making these intelligent substitutions, you can enjoy a delicious chocolate cake while keeping your calorie intake in check.
Portion Control and Smart Ingredient Choices
In addition to clever ingredient substitutions, portion control is crucial in maintaining a low-calorie count for this chocolate cake recipe. You can satisfy your cravings without overindulging by cutting the cake into smaller servings and enjoying it in moderation.
Furthermore, incorporating dark chocolate into the recipe offers additional health benefits. Dark chocolate contains less sugar and higher cocoa content than milk chocolate, making it a better choice for those watching their calorie intake.
Flavorful Indulgence Without Compromise
One might think that a low-calorie chocolate cake would sacrifice flavor, but that’s not the case with this recipe. You can still enjoy all the rich chocolatey goodness without compromising on taste by using quality ingredients and thoughtful substitutions.
Here are some tips to enhance the flavor of your low-calorie chocolate cake:
- Add a splash of vanilla or almond extract for an extra layer of flavor.
- Incorporate unsweetened cocoa powder for a more intense chocolate taste.
- Top your cake with fresh berries or a dollop of Greek yogurt to add natural sweetness and tanginess.
With these simple additions, you can elevate the flavor profile of your healthy chocolate cake and truly indulge in every bite.
Creating a Diabetic-Friendly Chocolate Cake and Frosting
Modifying Traditional Recipes for Diabetics
To make a sugar-free chocolate cake suitable for diabetics, it’s essential to modify traditional recipes. Start by replacing the sugar with alternative sweeteners that won’t raise blood sugar levels.
Stevia and monk fruit extract are excellent options as they add sweetness without impacting glucose levels. These natural sweeteners can be found in granulated or liquid form and used in equal amounts as regular sugar.
Exploring Alternative Ingredients
In addition to using alternative sweeteners, there are other ingredients you can incorporate into your diabetic-friendly chocolate cake recipe. Consider using whole wheat flour instead of white flour, which has a lower glycemic index.
This means it takes longer for the body to convert it into glucose, resulting in a slower rise in blood sugar levels. You can also experiment with adding unsweetened applesauce or mashed bananas to enhance the sweetness and moisture of the cake while reducing the need for additional sugar.
Adjusting Baking Times and Temperatures
Paying attention to baking times and temperatures is crucial when baking a diabetic-friendly chocolate cake. Since alternative ingredients may affect the texture and moisture content of the cake, adjustments may be necessary.
Start by following the recommended baking time in the modified recipe, but keep an eye on the cake as it bakes. Check for doneness by inserting a toothpick into the center; your cake is ready if it comes out clean or has a few crumbs clinging.
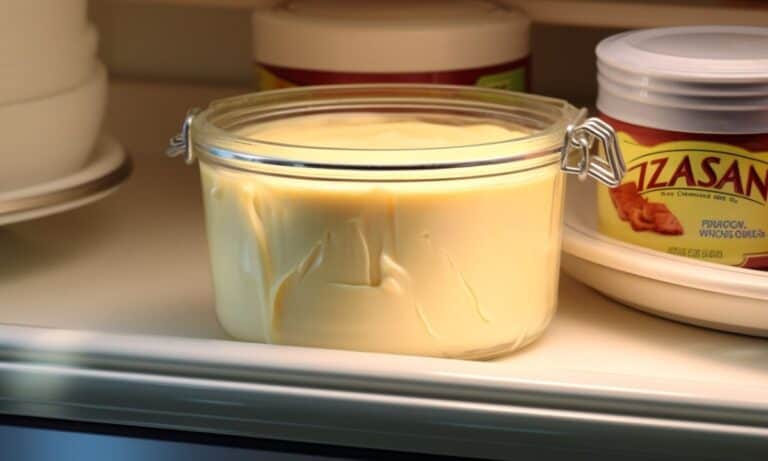
Mastering Low-Sugar Frostings
No chocolate cake is complete without frosting! To create creamy and luscious frostings suitable for people with diabetes, opt for low-sugar or sugar-free alternatives. Cream cheese-based frostings are an excellent choice as they provide richness without excessive sweetness.
Combine softened cream cheese with powdered erythritol or stevia to sweeten the frosting. You can also add a touch of vanilla extract for extra flavor. Beat the ingredients until smooth and creamy, then spread it generously over your cooled cake.
Get Creative with Flavors
Don’t be afraid to get creative with flavors when making a diabetic-friendly chocolate cake and frosting. Add a hint of espresso powder or cinnamon to enhance the chocolatey taste without adding sugar. You can also experiment with almond, mint, or orange extracts to add depth and complexity to your cake and frosting.
By following these tips and techniques, you can create delicious sugar-free chocolate cakes suitable for people with diabetes. Always consult your healthcare provider or nutritionist before making any significant changes to your diet. Enjoy a guilt-free treat that won’t compromise your blood sugar levels!
Step-by-Step Instructions for Frosting Your Cake
Achieving Bakery-Worthy Frosting
Follow these simple steps to achieve bakery-worthy frosting on your homemade diabetic-friendly cakes. Whether you’re making a single-layer cake or an entire layer cake, these techniques will help you create a delicious and visually appealing dessert.
- Prepare the frosting: Gather all the necessary ingredients for your diabetic-friendly recipe. This may include elements like cream, butter, pudding mix, or sugar substitutes. Follow the recipe instructions carefully to ensure the right consistency and taste.
- Whip it up: Whip an electric or stand mixer, and whip the frosting ingredients until they are well combined and fluffy. This will give your frosting a light and airy texture, perfect for spreading or piping onto your cake.
- Cool down: If your frosting appears too soft or runny after mixing, place it in the refrigerator for 15-30 minutes to firm up slightly. Applying it to your cake will make it easier to work with.
Techniques for Spreading and Piping
Learn different techniques for spreading, piping, or decorating your cake with diabetic-friendly frosting. These methods will help you achieve various designs and finishes on your frosted cake.
- Spreading technique: To extend the frosting evenly over your cake, start by placing a generous amount on top of the cake layer. Use an offset spatula or a butter knife to spread the frosting gently from the center outward in smooth strokes. Continue applying until you have covered the entire surface of the cake.
- Piping technique: To add decorative designs or patterns to your cake, consider using a piping bag with different tips. Fill the piping bag with your prepared frosting and apply gentle pressure while guiding it along the desired path on top of your cake. This technique allows you to create intricate designs such as rosettes, borders, or written messages.
Tips for a Smooth and Professional Finish
Discover tips and tricks for achieving a smooth and professional finish on your frosted cake. These techniques will help you create a polished look that will impress your guests.
- Crumb coat: Before applying the final layer of frosting, consider using a thin layer called a crumb coat. This initial layer helps seal loose crumbs and provides a smooth base for the final frosting layer. Once the crumb coat is applied, refrigerate the cake for about 15 minutes to allow it to set before continuing with the final frosting.
- Use a turntable: Placing your cake on a turntable makes rotating while spreading or piping the frosting easier. This allows for smoother and even coverage, resulting in a professional-looking finish.
- Smooth with an offset spatula: After applying the frosting, use an offset spatula dipped in warm water to smooth out any imperfections on the surface of your cake gently. The warm spatula helps melt the frosting slightly, creating a smoother appearance.
By following these step-by-step instructions and incorporating these techniques into your cake decorating process, you can create beautifully decorated cakes that are visually appealing and diabetes-friendly.
Choosing the Right Sweetener and Cocoa Powder
Choosing a suitable sweetener and cocoa powder is crucial. Let’s explore critical factors when selecting these ingredients to ensure a delicious outcome for your diabetic-friendly cake.
Various Sweeteners for Baking Diabetic-Friendly Chocolate Cakes
Diabetic-friendly chocolate cakes require a sugar substitute that won’t spike blood sugar levels. Luckily, there are several options available in the market. Erythritol and xylitol are popular choices that provide sweetness without impacting blood glucose levels.
These sweeteners taste similar to sugar and can be used in equal amounts in most recipes. However, it’s essential to note that they may have a cooling effect on the palate, which can affect the overall flavor of your cake.
Pros:
- Erythritol and xylitol offer sweetness without raising blood sugar levels.
- They taste similar to sugar and can be used in equal amounts in recipes.
- Both sweeteners are widely available in stores.
Cons:
- Erythritol and xylitol may have a cooling effect on the palate.
- Some people may experience digestive issues with these sweeteners if consumed in large quantities.
Different Types of Cocoa Powders and Their Impact on Flavor and Texture
Cocoa powder plays a vital role in achieving that rich chocolate flavor in your cake. There are two main types of cocoa powder: natural (non-alkalized) and Dutch-process (alkalized). Natural cocoa powder tastes acidic, while Dutch-process cocoa powder has been treated with an alkalizing agent to neutralize its acidity.
Pros:
- Natural cocoa powder provides a more intense chocolate flavor.
- Dutch-process cocoa powder offers a smoother, milder taste.
- The choice between natural or Dutch-process depends on personal preference and the desired flavor profile of your cake.
Cons:
- Natural cocoa powder can result in a slightly denser texture in the cake.
- Dutch-process cocoa powder may not provide a chocolate flavor as strong as natural cocoa powder.
Balancing Sweetness and Bitterness

Achieving the right balance of sweetness and bitterness is crucial when making a sugar-free chocolate cake. The combination of sweetener and cocoa powder will significantly influence the overall taste. Experimenting with different ratios can help you find the perfect balance for your preferences.
Tips:
- Start using smaller amounts of sweetener and cocoa powder, then adjust to taste.
- Add flavors like vanilla extract or coconut cream to enhance the overall flavor profile.
- Use a food processor or mixer to ensure all dry ingredients are well incorporated.
By carefully selecting the suitable sweetener and cocoa powder, you can create a delicious sugar-free chocolate cake for people with diabetes. Remember to experiment with different combinations until you find the perfect balance of sweetness and flavor.
You can enjoy a delicious treat without compromising health with simple ingredients and a little creativity.
Storing and Freezing Tips for Your Perfect Healthy Cake
Knowing how to properly keep your sugar-free chocolate cake is essential to ensure that your sugar-free chocolate cake remains fresh and delicious. If you have any leftovers or want to make a larger batch in advance, freezing can be a great option.
Here are some tips on storing and freezing your homemade sugar-free chocolate cakes:
Proper Storage Techniques for Freshness and Flavor
- Once your cake has cooled completely, wrap it tightly with plastic wrap or place it in an airtight container.
- Store the cake at room temperature in a cool, dry place away from direct sunlight or heat sources.
- If you live in a hot and humid climate, consider storing the cake in the refrigerator to prevent spoilage.
- Avoid refrigerating the cake for extended periods, as it may dry out. Instead, aim to consume it within 2-3 days.
Freezing Leftover Slices or Whole Cakes
- To freeze leftover slices of sugar-free chocolate cake, individually wrap each slice with plastic or aluminum foil.
- Place the wrapped slices in a freezer-safe bag or container and remove as much air as possible before sealing.
- Label the bag or container with the freezing date to keep track of its freshness.
- When you’re ready to enjoy a slice, thaw it at room temperature for about 30 minutes before serving.
Longevity of Diabetic-Friendly Chocolate Cakes
- Sugar-free chocolate cakes can typically be stored safely for up to 3 days at room temperature before losing their freshness and flavor.
- They can last up to 5 days in the refrigerator without significant changes in taste or texture.
- For longer-term storage, freezing is the best option. Frozen sugar-free chocolate cakes can remain suitable for up to 3 months.
Maintaining Taste and Texture
- It’s important to note that while proper storage techniques can help maintain the freshness of your sugar-free chocolate cake, there may still be slight changes in taste and texture over time.
- Freezing may cause moisture loss, resulting in a slightly drier cake upon thawing. However, this can be mitigated by wrapping the cake well and ensuring it is thoroughly thawed before serving.
By following these storage and freezing tips, you can ensure that every slice of your homemade sugar-free chocolate cake tastes as good as the day it was baked.
Whether you’re enjoying a piece right away or saving some for later, these techniques will help preserve the flavor and freshness of your diabetic-friendly dessert.
Enjoying Sugar-Free Chocolate Cakes for Diabetics
We started by sharing the best diabetic chocolate cake recipe and a healthy chocolate cake recipe with less than 100 calories. Then, we delved into creating a diabetic-friendly chocolate cake and provided step-by-step instructions for frosting your cake.
We also discussed the importance of choosing a suitable sweetener and cocoa powder and shared tips on storing and freezing your perfect healthy cake.
Now armed with these delicious and diabetes-friendly recipes, you can enjoy chocolate cakes without worrying about your blood sugar levels. Don’t let diabetes restrict your dessert options any longer!
With these recipes, you can satisfy your sweet tooth while keeping your health in mind.
So go ahead and try out these sugar-free chocolate cake recipes. Treat yourself to a guilt-free slice of heaven that is delicious and safe for people with diabetes. Your taste buds will thank you!
FAQs – Sugar Free Chocolate Cake Recipes for Diabetics
Can I use regular flour instead of almond flour in these recipes?
👉 Yes, you can usually substitute regular flour for almond flour. However, remember that almond flour provides a gluten-free option and adds a nutty flavor to the cake. Adjustments may be needed when substituting flours to maintain the desired texture.
Can I replace eggs with a substitute egg?
👉 Certainly! Several egg substitutes, such as applesauce, mashed bananas, yogurt, or commercial egg replacements, work well in most baking recipes, including chocolate cakes.
Are these cakes suitable for people with other dietary restrictions like gluten or lactose intolerance?
👉 The sugar-free aspect of these cakes makes them suitable for individuals with diabetes. However, modifications may be required if you have other dietary restrictions, such as gluten or lactose intolerance.
Consider using gluten-free flour blends or lactose-free milk alternatives to adapt the recipes accordingly.
Can I add nuts or fruits to these chocolate cake recipes?
👉 Absolutely! Adding nuts or fruits can enhance the flavor and texture of your chocolate cake. Chopped walnuts, almonds, or pecans work well in most cases. Similarly, berries like raspberries or strawberries can provide a delightful burst of freshness.
How long will these sugar-free chocolate cakes stay fresh?
👉 When stored properly in an airtight container at room temperature, these cakes can stay fresh for 3-4 days. To extend their shelf life, refrigerate them for up to a week or freeze them for several months. Just make sure to wrap them tightly before freezing.

Born and raised in a family of foodies, Georgia’s passion for cuisine was nurtured from a young age as she learned the intricacies of flavor and texture from her grandmother’s kitchen. As an adult, this early fascination blossomed into a full-fledged love affair with the culinary world.